How Do I Fix a Bag Handle Hole That Already Started Ripping?
If you've ever delved into the rewarding world of reclaimed packaging, you know that even the sturdiest gift bags or totes can develop wear and tear—especially around bag handle holes. Once ripping begins, it can feel like watching a favorite book fall apart at the spine. But fear not! With careful technique, the right materials, and proper tools, you can restore that handle hole, making your bag reliable and reusable for many more loads—about the weight of a crate full of paperbacks, but still sturdy!
Why Bag Handle Holes Rip and How to Prevent It
Bag handle holes often rip due to a combination of factors:
- Weak base material, like thin cardboard or low-grade paper
- Flimsy reinforcement, or none at all
- Heavy contents overloading the handle's rated capacity
- Poorly finished holes with ragged edges that facilitate tearing
In reuse projects, strengthening these stress points is vital, especially when you’re relying on packaging materials not originally intended to carry heavy weights repeatedly. Think of handles like library book spines: if the spine is weak or the glue fails, the whole book can come apart. Similarly, the strength of a bag handle lies in solid connections and reinforced edges.
Tools You’ll Need: Parallel-Action Pliers and Side Cutters
Choosing the right tools is like picking the best bookmark for your reading habit—they streamline the process and ensure no further damage.
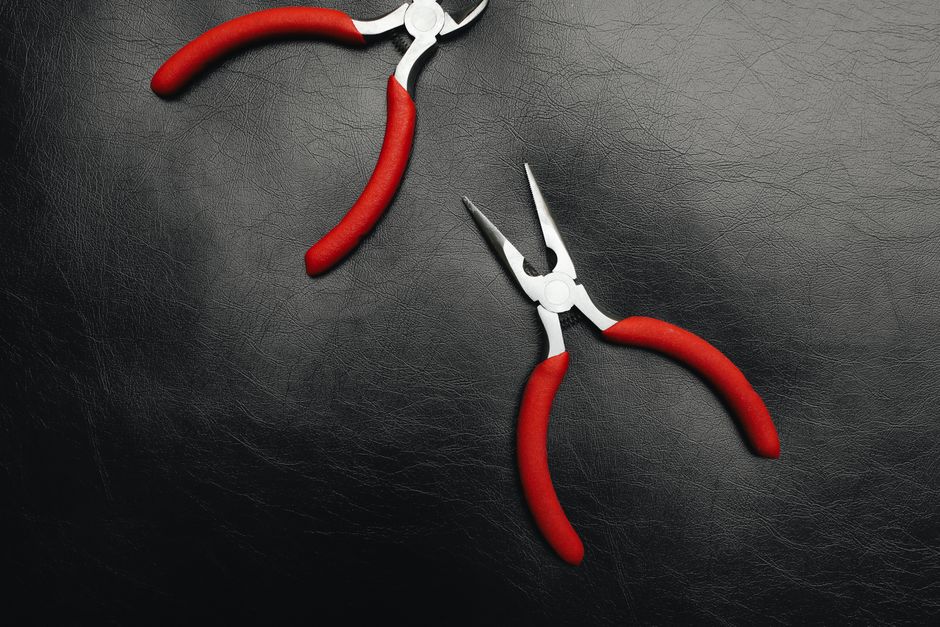
- Parallel-action pliers: These pliers provide even pressure across the jaws, perfect for bending wire or flattening patch materials cleanly. Their design helps avoid uneven bends that can cause stress points or folds in tape or wire reinforcement.
- Side cutters: Essential for making clean, safe cuts on wires or trimming reinforcement materials without ragged edges. Never underestimate the danger of jagged wire or torn tape ends; these are your enemies when trying to maintain structural integrity.
By using parallel-action pliers and side cutters, you reduce the chance of introducing new tears that could suddenly give way, ruining your careful repairs.
Understanding Wire Gauge and Load Capacity for Handle Repairs
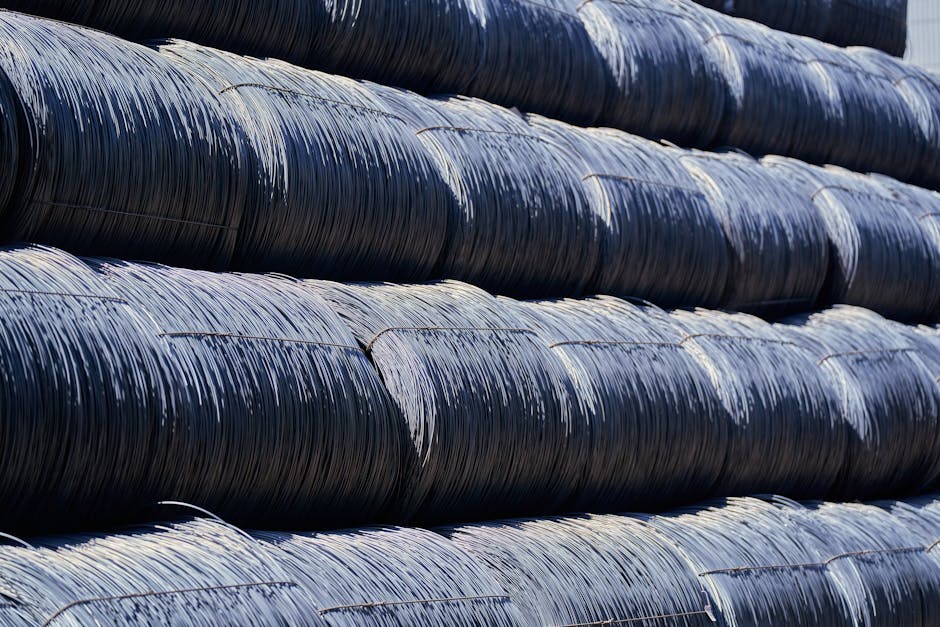
When repairing a handle hole, many hobbyists turn to wire for reinforcement. It’s critical to choose the correct wire gauge appropriate for your bag's weight load:
Note: These are approximate safe loads with proper anchoring and reinforcements.
For most reclaimed packaging repairs, 18 gauge strikes a sweet balance between easy handling with parallel-action pliers and safe carrying capacity without overloading thin cardboard. Using wire that’s too thin (like 24 gauge or thinner) risks sudden snaps or tearing through the material under strain.
Step-by-Step Guide: Fixing Ripping Bag Handle Holes
Materials to Gather
- Canvas tape 25 mm wide – crucial for reinforcing edges and adding durability
- Strong, thick cardboard scrap for patching (forming a “cardboard sandwich”)
- PVA glue for edge sealing and strengthening adhesion
- Parallel-action pliers and side cutters
- Scissors, craft knife, and ruler
- Optional: Fine sandpaper for smoothing edges
Step 1: Assess and Prepare the Damaged Area
Start by gently cleaning any dirt or loose fibers. Use sharp scissors or a craft knife to trim ragged edges around the ripping hole, avoiding further expansion. Be precise—plus or minus 1 mm margin ensures clean edges that will hold adhesives better.
Step 2: Reinforce the Weak Material
Before drilling any new holes (if you must), reinforce the area with a cardboard sandwich patch. Cut two pieces of sturdy cardboard slightly bigger than the damaged hole, approximately 30x30 mm for small to medium holes.
- Apply PVA glue thinly on one side of each patch piece.
- Place one patch on the inside face and the other on the outside face of the bag, sandwiching the damaged hole area.
- Press firmly and clamp under a heavy book or similar for at least an hour.
This sandwiches the tear and distributes load, just like a reinforced book spine under pressure.
Step 3: Add Canvas Tape 25 mm for Edge Reinforcement
Wrap a strip of canvas tape 25 mm around the repaired hole edges on both sides of the bag. Canvas tape's tight weave gives tensile strength, protecting against further rips.
- Cut tape strips about 50-60 mm long to allow for some overlap.
- Use PVA glue to bond the tape securely, ensuring no air bubbles or folds.
- Smooth the tape edges with your fingers or a soft tool to avoid peeling.
When drying, place under a flat heavy object to keep tape uniform and tightly bonded.
Step 4: Reinforce Wire Handles with Clean Bends and Safe Cuts
If your bag uses wire handles and the anchor points are compromised, consider replacing or reinforcing with the right wire gauge. Use parallel-action pliers to make smooth bends without kinking wire, which weakens it.
- Shape the wire carefully, aiming for gentle curves that distribute tension evenly.
- Use side cutters to trim wire ends cleanly, avoiding sharp points that can tear the bag or cause injuries.
- Twist or loop wire ends inside the reinforcement patch for added grip.
A note of caution: never rely on flimsy floral wire or excessively thin metal wire for load-bearing handles—it’s like a paperback with loose pages; eventually, it gives way.
Step 5: Seal Edges with PVA Glue
Finalize your repair by applying a thin bead of PVA glue edge seal around the canvas tape edges and any exposed cardboard on the patch. This prevents moisture absorption and fiber fraying—two major culprits of weakening.
- Use a fine brush or toothpick for precision.
- Let the glue dry fully in a warm, low-humidity environment.
Tips to Maintain Your Reclaimed Packaging’s Trustworthiness
- Regular inspection: Treat your reused bags like lending library copies—check for new tears or stress signs after each load.
- Load limits: Stick to recommended weight capacities based on your wire gauge and material strength to prevent unexpected drops.
- Handle carefully: Avoid yanking or sudden jerks that can weaken patches.
- Store properly: Keep bags away from damp or extraordinarily hot places that degrade adhesives and paper fibers.
Conclusion
Fixing a bag handle hole that’s already started ripping is a https://packagingrevolution.net/add-wire-handles-to-boxes-and-bags/ little like repairing a well-loved book—you want durable patches, strong edge protection, and careful handling to extend its life. Using a combination of cardboard sandwich patches, canvas tape 25 mm strips, and PVA glue edge seals, topped off with quality tools like parallel-action pliers and side cutters, you can restore your reclaimed packaging to trustworthy, load-bearing condition.
With patience and precision—plus or minus 1 mm here and there—you won’t just save a bag; you’re building a small, sustainable system that honors resources and your DIY passion. Next time someone asks if reclaimed bags can be as reliable as store-bought reusable totes, you’ll have your hands-on story and repairs to prove it.