Mini Split vs. Electric Space Heater: Why Is the Heat Pump Cheaper to Run?
When a garage gets painfully cold, a portable electric heater looks like the easy answer: plug it in, turn it on, and feel warm air. A mini-split heat pump costs more to install, but it can use much less electricity to maintain a comfortable temperature. The difference comes down to how each system makes heat.
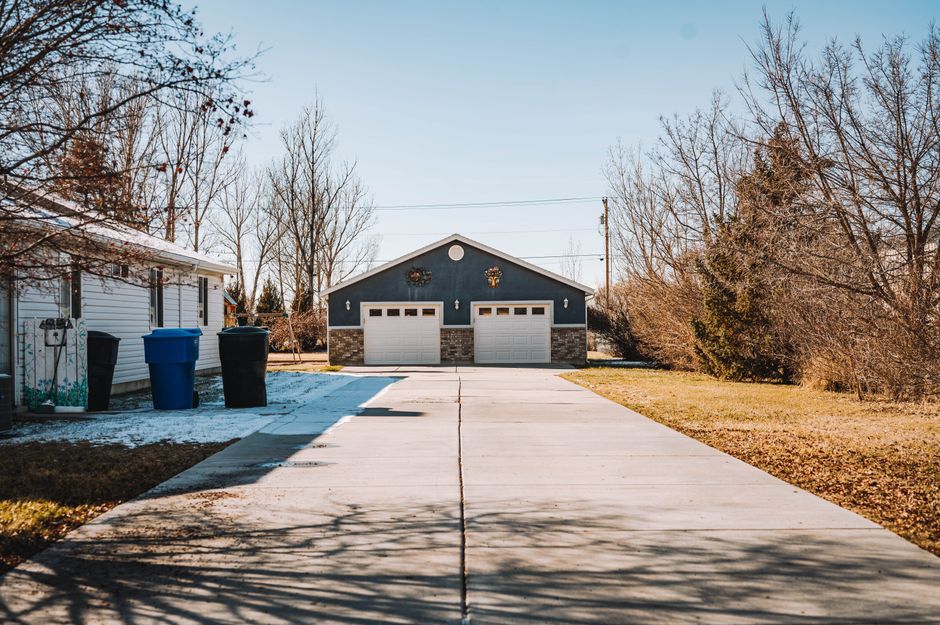
An electric resistance heater turns electricity directly into heat. A heat pump moves heat from outdoors into the garage, using electricity to run its compressor and fans. Even in cold weather, there is usable heat in outdoor air—though a heat pump’s output and efficiency generally decline as temperatures fall. That makes a mini-split potentially much cheaper to run, but the right choice depends on your garage, local winter conditions, electrical service, and how often you need heat.
Why a Heat Pump Can Use Less Electricity
An electric resistance heater is nearly 100% efficient at converting the electricity it consumes into heat at the point of use. A 1,500-watt space heater uses 1.5 kilowatt-hours (kWh) for every hour it runs at full power. But a heat pump can deliver more heat energy than the electrical energy it consumes because it transfers heat instead of producing all of it from scratch.
That relationship is described by the coefficient of performance, or COP. A COP of 3 means the heat pump delivers about three units of heat for each unit of electricity it uses under those operating conditions. COP changes with outdoor temperature, indoor setpoint, equipment, and operating mode; it is not a promise that the system will always use one-third as much electricity as a resistance heater.
Consider an illustrative comparison at an electricity rate of $0.18 per kWh:
Heating option Example electricity use Approximate cost per hour 1,500-watt resistance heater, running at full power 1.5 kWh $0.27 Heat pump delivering similar heat at COP 3 About 0.5 kWh About $0.09This is a simplified example, not a forecast for a particular garage or winter. A heat pump’s COP may be lower during very cold weather, and a space heater may cycle off once the area around its thermostat warms up. Still, when a heat pump maintains similar comfort while consuming fewer kWh, it can reduce garage heating bills substantially.
SEER2 and HSPF2: Which Rating Matters for Heating?
When comparing equipment, look at the ratings for the job you want it to do. SEER2 measures seasonal cooling efficiency. It is useful if you also plan to air-condition the garage, but it does not tell you how efficiently the system heats it. For heating performance, check HSPF2, along with the manufacturer’s heating-capacity tables at specific outdoor temperatures.
A high HSPF2 rating is a useful seasonal comparison, but it should not be the only selection criterion. Ask how much heat the unit can deliver at the coldest temperatures you expect. A system may have a suitable nominal BTU rating yet lose heating capacity in low outdoor temperatures. Also check whether it is designed for low-ambient heating and whether it has a defrost cycle. During defrost, the system temporarily changes operation to clear frost from the outdoor coil, which can affect comfort and energy use.
Garage BTU Sizing Is Not the Same as Room Sizing
Interior-room sizing charts often assume finished walls, insulated floors above conditioned spaces, moderate air leakage, and a typical ceiling height. A garage can be a very different load: an uninsulated slab, a leaky overhead door, exposed framing, air leaks around the door, and frequent openings all increase heat loss. Tools, vehicles, and stored items may also make a quick warm-up less important than steady temperature control.
As a practical starting point, a garage may need 30% to 50% more capacity than an interior room of similar floor area. Treat that as a rough adjustment—not a substitute for a heat-loss calculation. The actual requirement depends heavily on climate, insulation, air sealing, window area, ceiling height, and the temperature you want to maintain.
What to check before choosing BTUs
- Insulation and air sealing: Note whether the walls, ceiling, garage door, and any shared wall with the house are insulated. Seal obvious drafts first; adding capacity is not a good fix for uncontrolled air leakage.
- Ceiling height: A tall garage contains more air and may have greater heat loss than a standard-height space with the same floor area. Hot air can also stratify near the ceiling.
- Door use: A garage door opened repeatedly in winter can dump heat quickly. Consider how often it is used and how quickly you expect the space to recover.
- Design temperature: Decide whether you want to keep the garage just above freezing, maintain a workshop temperature, or warm it only while you are working there. Higher setpoints mean more heat loss.
- Cold-weather capacity: Compare the unit’s delivered heating capacity at local winter temperatures, not just its headline capacity at a mild test condition.
Oversizing is not automatically harmless. Inverter mini-splits can modulate their output, but a system that is too large may still have trouble managing temperature or humidity in some conditions. If you plan to heat a detached or poorly insulated garage, get a load estimate based on the actual building rather than relying on an interior-room BTU chart.
Zone Air vs. MRCOOL for a DIY Garage Mini-Split
Zone Air and MRCOOL are both names homeowners may encounter while researching ductless systems, but compare the specific model and installation package—not just the brand. Product lines, included parts, warranty terms, and installation requirements can vary. A DIY-oriented package can make a mini-split installation more approachable, but “DIY” does not mean every part of the job is simple or that local code requirements disappear.
Before buying from either company, verify the following in the current installation manual and product specifications:
- Heating output at low outdoor temperatures: Check the capacity tables and operating limits for the model you are considering.
- Line-set arrangement: Confirm the required line-set length, connection method, and routing options. Avoid an installation plan that leaves excess line coiled behind the condenser just to hide surplus length; follow the manufacturer’s instructions for allowable length and handling.
- Electrical requirements: Check voltage, minimum circuit ampacity (MCA), maximum overcurrent protection (MOCP), and the specified breaker or fuse size. Do not choose a breaker based only on the unit’s advertised voltage or a general online comment.
- Warranty and service conditions: Read the current warranty carefully, including who may install the equipment and what records or proof of purchase are required.
- Permits and local rules: Confirm whether a permit, inspection, or licensed electrical work is required in your area. Angi can be one way to find local installers or electricians for work you do not want to handle yourself, but check credentials, scope, and reviews directly.
A fair Zone Air-versus-MRCOOL comparison should put the exact models side by side: cold-weather performance, included accessories, line-set options, electrical specifications, warranty details, and total installed cost. A lower advertised price may not include every part needed for a code-compliant installation. Likewise, a DIY-friendly connection system does not remove the need to read the manual closely and protect the refrigerant lines from damage.
115V Plug-In or 230V Dedicated Circuit?
Electrical service is a major part of the buying decision. Some smaller mini-splits are designed for 115V power, while many larger units require 230V and a dedicated circuit. A plug-in resistance heater may use an existing 120V receptacle, but high-wattage heaters can draw close to the practical limit of a typical 15-amp branch circuit. Check the heater’s label and the circuit’s other loads; do not run a heater on an extension cord or a circuit that is already heavily loaded.
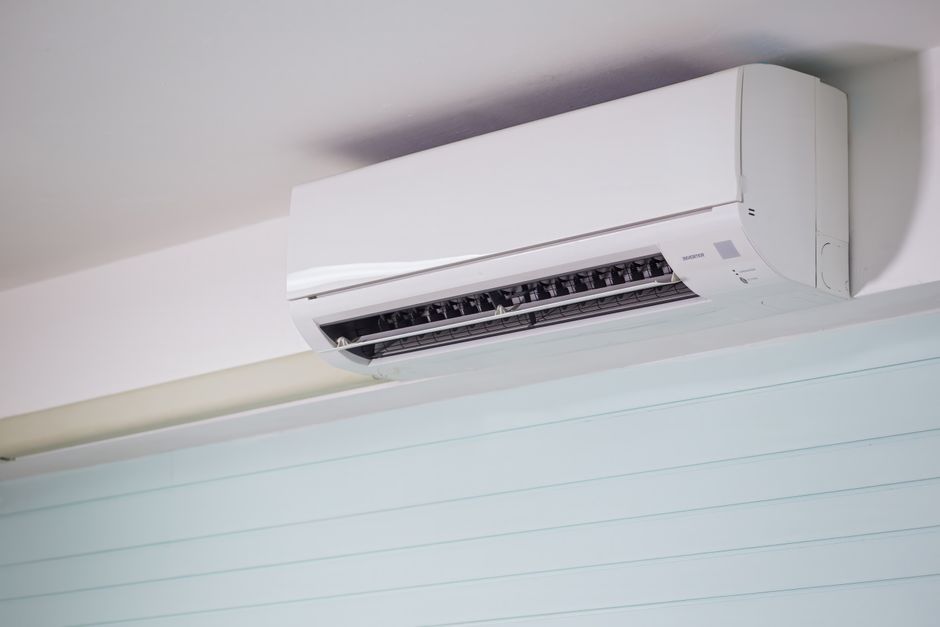
A 230V mini-split generally needs a properly sized dedicated branch circuit installed in accordance with the equipment label, manual, and local electrical code. “Dedicated” means the circuit serves the equipment rather than also powering general outlets or other appliances. The breaker size must match the manufacturer’s specifications and applicable code; a larger breaker is not a safe workaround for wiring that is too small.
Before ordering, inspect the panel for available capacity and space, and determine whether the home’s service can support the added load. If you are not qualified to assess or install the circuit, have a licensed electrician do it. The unit’s nameplate values—especially MCA and MOCP—are more useful than a casual assumption that a particular voltage automatically means a particular breaker size.
A 115V model may be simpler where a suitable circuit already exists, but it may have less heating capacity than a 230V option. Do not pick a smaller unit solely to avoid electrical work if it cannot meet the garage’s heat loss. Conversely, a larger 230V unit is not necessarily the right choice if the building is leaky and poorly insulated. Compare the electrical cost of installation with expected operating savings and how regularly you use the space.
Outdoor Placement: Condenser Pad or Wall Brackets?
The outdoor unit needs a stable, level mounting surface and enough clearance for airflow, snow, service access, and drainage. A condenser pad is a common ground-level option. It should sit on a stable base and be positioned according https://melissafreshmaid.com/what-does-hspf2-actually-mean-for-winter-heating-costs/ to the manufacturer’s clearance and elevation instructions. In snowy areas, consider how drifting and roof runoff could bury or ice up the unit.
Wall brackets can lift the condenser above typical snow accumulation and keep it off the ground, but the mounting structure must support the unit’s weight and vibration. Brackets also need to be installed securely into suitable structural material, not just siding. Whichever option you choose, make sure the installer can access the unit for cleaning and service and that defrost water has somewhere to drain without creating a hazardous ice patch.
When a Space Heater Still Makes Sense
Electric resistance heat is not always the wrong choice. It can be practical when you heat a small area briefly, use the garage infrequently, or want a portable source of spot heat at a workbench. A space heater also avoids the up-front expense of a mini-split. Its drawback is that it can be costly to run for long periods, especially if you try to heat an entire leaky garage.
For occasional work, compare the cost of the heater’s actual operating hours with the purchase and installation cost of a heat pump. For daily or extended use, a properly sized mini-split may repay its higher initial cost through lower electricity consumption. The payback depends on local electric rates, outdoor temperatures, insulation improvements, installation price, and how many hours you heat the garage.
How to Estimate Your Own Garage Heating Bills
- Find your electricity rate. Use the price per kWh on your bill, including relevant supply charges if they vary with usage.
- Estimate operating time. A heater’s rated wattage is not the same as its average use if a thermostat cycles it on and off.
- Calculate resistance-heater use. Multiply kilowatts by hours of operation to estimate kWh, then multiply by your rate. For example, 1.5 kW used for 6 full-power hours is 9 kWh.
- Compare heat-pump performance. Use the model’s heating efficiency and capacity data for the temperatures you expect. A seasonal HSPF2 rating can help with broad comparisons, but actual winter performance varies.
- Account for building improvements. Weatherstripping the overhead door, sealing penetrations, and insulating the ceiling may reduce the load for either heating option.
Keep the comparison focused on https://smoothdecorator.com/how-short-should-i-keep-the-line-set-run-for-a-garage-mini-split/ delivering similar comfort. If the space heater warms only the immediate work area while the mini-split maintains the whole garage, the two systems are not providing the same service. Conversely, if you only need heat for a short task, paying to heat the entire garage may not make sense.
The Bottom Line
A mini-split heat pump is often cheaper to run than an electric resistance heater because it transfers heat rather than converting every unit of electricity directly into heat. Its advantage is strongest when it operates efficiently, the garage is reasonably sealed and insulated, and the system is sized for the real building and winter conditions. HSPF2 and cold-weather capacity matter more for heating than SEER2 alone.
Before choosing between Zone Air, MRCOOL, or another system, verify the exact model’s performance, line-set instructions, warranty, and electrical requirements. Decide whether a 115V option can genuinely meet the load or whether a 230V dedicated circuit is appropriate. Then plan the condenser pad or wall brackets for stable support, drainage, snow clearance, and service access. A careful sizing and electrical check is less exciting than comparing brand names—but it is what helps keep a garage comfortable without unpleasant surprises in the installation or the bill.