What Is the Real Weekend Workload for Installing a DIY Mini Split?
Installing a DIY mini split heat pump can seem like an appealing weekend project, especially with popular brands like Zone Air, MRCOOL, and Cooper & Hunter offering units designed with the DIYer in mind. But before you clear your Saturday and Sunday for this job, let's unpack what the real workload looks like. You’ll want to know what you’re getting into — from mounting indoor brackets to setting the outdoor condenser on a pad, connecting quick connects safely, and navigating cold-weather performance to -22°F. Plus, we’ll highlight some tools and techniques often overlooked but essential, like using a torque wrench on quick connects and performing soapy water leak checks.
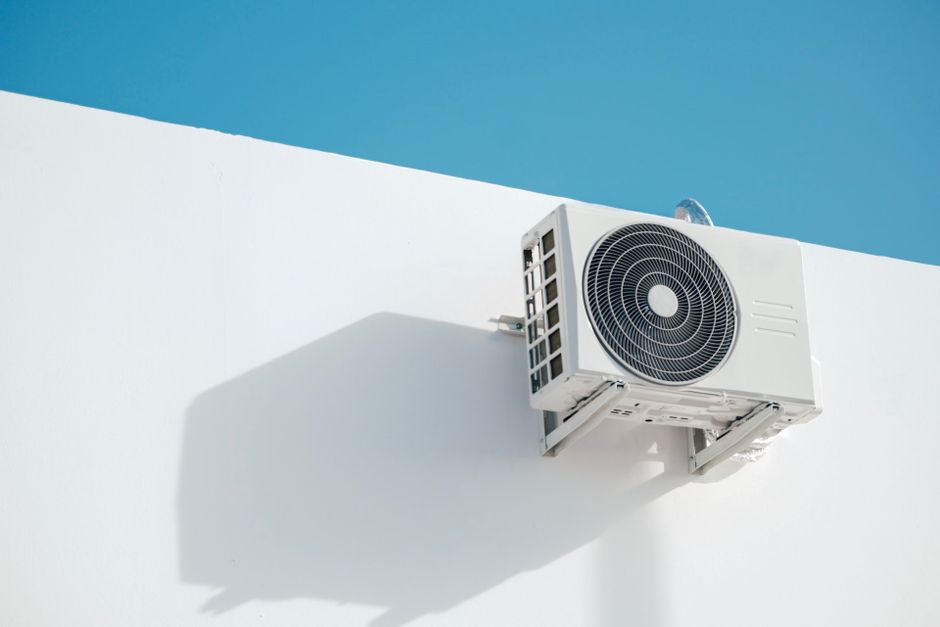
Understanding the Promise of a DIY Mini Split
Many companies advertise their mini splits as DIY-friendly—take the Zone Air DIY 12K system priced at around $2,049.99 for example. It promises plug-and-play ease with 115V or 230V options, pre-charged refrigerant lines, and quick connect fittings that theoretically eliminate the need for professional HVAC installers. But the devil’s in the details when it comes to the actual workload and the hidden technical skills you might need.
Why DIY Mini Splits Are Gaining Popularity
- Cost savings on installation labor
- Control over timing and scheduling
- Access to cold-weather rated units that perform to -22°F
- Easy electrical connections with 115V plug-in models
However, this doesn't mean the install is a walk in the park. Even with “simplified” designs, a realistic assessment of time, tools, and skills is key.
The Weekend Installation Workflow: Step-by-Step
Day 1: Mounting Indoor Bracket and Planning Line Set Path
The first step usually involves mounting the indoor unit’s bracket securely on an interior wall. Unlike simple wall hangers, these mounting indoor brackets must be perfectly level and anchored to wall studs or solid backing. Skimping here leads to rattling, inefficient airflow, or worse, structural damage.
- Tip: Use a level and lag screws. Verify stud locations before drilling.
- Hidden cost: You may need a drywall patch kit if mistakes happen.
Next comes the crucial line set design—running refrigerant lines (liquid and vapor copper tubing), drain, and electrical cables between indoor and outdoor units. This step often involves fishing lines through walls or drilling holes, which adds time and can trigger permit requirements depending on local codes.
Day 2: Setting Outdoor Condenser on Pad and Connecting Quick Connects
The outdoor condenser must sit on a solid, level pad. DIYers often purchase pre-cast concrete pads or create a gravel and concrete base. This step is essential to reduce noise, vibration, and risk of water damage or freezing.
Connecting the outdoor unit’s quick connects is where the true DIY vs professional divide becomes apparent. Most modern kits from MRCOOL and Cooper & Hunter feature refrigerant line quick connects designed for easier assembly without specialized HVAC tools. But a torque wrench is still a must-have to attain manufacturer-specified torque on flare nuts and fittings — improper torque risks leaks.
- Always tighten quick connects with a calibrated torque wrench following spec sheets.
- After tightening, perform a leak check with soapy water solution—watch carefully for bubbles to identify any leaks.
Electrical Connections: 115V Plug-In vs 230V Hardwired
A major perk touted by brands like Zone Air and MRCOOL is the option for 115V plug-in units. This “DIY electrician” advantage avoids the need to hardwire your unit or install a dedicated 230V circuit. However, do not underestimate this step:

- 115V plug-in is often limited to smaller mini splits (9K-12K BTU).
- 230V hardwired systems typically require professional electrician permits and inspections.
- Working with electricity, especially 230V, means following all safety codes—you may still need a licensed professional for this step, even with a DIY-labeled system.
Heads-up: Don’t fall for the “DIY” label implying you won’t need any electrician help in every case. If you’re not comfortable or permitted to work with your home’s electrical panel, plan to hire a pro.
Hidden Costs and Realistic Time Planning
Beyond the physical work, plan for:
- Permits: Refrigerant and electrical work often require local permits and inspections, adding time and cost.
- Line Set Length Reality: The advertised refrigerant line set length is nominal—if your install requires extra tubing or couplers, you risk voiding warranties or underperformance issues.
- Line Hide and Aesthetics: Concealing copper and drain lines neatly adds significant prep and finishing time.
Expect a raw weekend workload of approximately 12-16 hours, spread across two days, to complete a first-time DIY mini split install comfortably:
- Mount and level indoor bracket; drill and route lines through walls (4-6 hours)
- Set outdoor pad and condenser; connect quick connects and perform leak tests (4-6 hours)
- Make electrical connections, test system startup, and tidy line set paths (3-4 hours)
Experienced DIYers with full toolkits may shave a few hours, but don’t underestimate the patience required, especially when troubleshooting leak tests or tight fittings.
Cold-Climate Considerations: Mini Splits Rated to -22°F
If you’re in a cold-weather region, choosing a system rated for subzero operation is crucial. Zone Air, MRCOOL, and Cooper & Hunter all offer units with low ambient heating capabilities down to about -22°F.
Important: A -22°F rating does not mean full BTU output at that temperature. These units typically reduce capacity as temps drop but maintain reliable heating. Plan accordingly with backup heating or zoning for the coldest days.
Summary Table: DIY Mini Split Key Tasks and Tips
Task Time Estimate Tips / Tools Notes Mount indoor bracket 2-3 hrs Level, stud finder, lag screws Ensure solid wall mounting to prevent vibration Drill wall, route line set and drain 2-3 hrs Drill bits, fish tape, measuring tape Check line set length to avoid extra couplers Set outdoor condenser pad 1-2 hrs Concrete pad or gravel base Level and stable pad reduces noise and weather damage Connect quick connects 2-3 hrs Torque wrench, soapy water leak check solution Tighten to specs; test thoroughly for leaks Electrical connections 1-3 hrs Multimeter, plug-in or wiring tools Check local codes; hiring electrician may still be necessary System startup and testing 1-2 hrs Remote control, temperature sensor Confirm heating/cooling functions at various tempsFinal Thoughts: Is DIY Mini Split Installation Worth Your Weekend?
For homeowners willing to roll up their sleeves, carefully read manuals, and invest in necessary tools such as a torque wrench and leak test solution, installing a DIY mini split like those offered by Zone Air, MRCOOL, or https://cleaningservicesgrandrapidsmi.com/cooper-hunter-reviews-are-all-over-the-place-where-to-look-for-reliable-info/ Cooper & Hunter is feasible. Expect about 12-16 hours of work and be realistic about dealing with electrical connections, line set routing, 115v mini split plug in and cold climate factors.
Still, don’t be misled into assuming “DIY” means no professional help. Permits, electrical wiring, and HVAC code compliance frequently require hiring licensed contractors or electricians to avoid expensive future headaches.
By understanding the true weekend workload, hidden costs, and critical installation steps, you can confidently decide whether DIY mini split installation fits your skills and schedule—ultimately saving money while staying comfortable all winter long, even at -22°F.