What Rooms Should I Put on a 3 Zone Mini Split First?
If you’re embarking on a mini split installation to upgrade your home’s heating and cooling, choosing which rooms to include in your initial 3-zone setup is a key decision. Whether you’re eyeing a true DIY system or working with professionals, understanding the placement of your living room zone, bedroom zone, and even a guest room setback will save you headaches down the line. Adding to the complexity—but also to the customization choice—are factors like line set strategy to avoid leaks, mixing air handler types on a single condenser, and the overall aesthetics that impact your decor.
True DIY vs Not-Really-DIY Mini Splits
First things first: DIY mini splits market themselves as a budget-friendly way to upgrade your HVAC system, but there’s a big difference between “true DIY” and “not-really-DIY.”
- True DIY systems, like many models offered through Zone Air, often come with pre-charged line sets and quick connect fittings that dramatically simplify installation. These fittings reduce the need for specialized HVAC brazing skills, which is why I recommend using the Zone Air Build Your Own tool before buying. It lets you customize your package with exact lengths and fittings you’ll need. However, a licensed HVAC tech is still needed for final electrical hookups and system commissioning in many locales.
- Not-really-DIY options, like many Pioneer and MRCOOL systems, advertise DIY but often still require costly line set brazing, leak testing, and professional refrigeration skills. Installing these without an HVAC pro can risk refrigerant leaks—something that often gets glossed over by personas online. Don’t underestimate the leak risk from coiled line sets or poorly connected couplers.
So if you want to DIY yet maintain safety and code compliance, your choice of system matters as much as your chosen rooms.
Which Rooms Deserve Your Initial 3 Zone Setup?
Now to the big question: which rooms should your initial zones cover? Most homeowners who optimize for comfort and aesthetics pick zones based on usage patterns and how they interact visually with their home’s decor.
Zone Reason to Prioritize Aesthetic & Decor Considerations Line Set Implications Living Room Zone Highest traffic area; longest usage hours Head placement often determines focal wall design; offset unit for gallery walls Usually closest to outdoor condenser; shortest line set minimizes leak risk Bedroom Zone(s) Critical for sleeping comfort; separate setback thermostats’ value Quiet operation and discreet air handler design; test with cardboard cutouts before mounting Longer line sets may be needed; prioritizing quick connect fittings prevents leaks Guest Room Setback Lower occupancy; can reduce energy by setback controls Compact air handler or ceiling cassette for less visual impact Again, line set length & routing matter; plan line hide visibility outside near patiosLiving Room Zone: Your High-Impact Choice
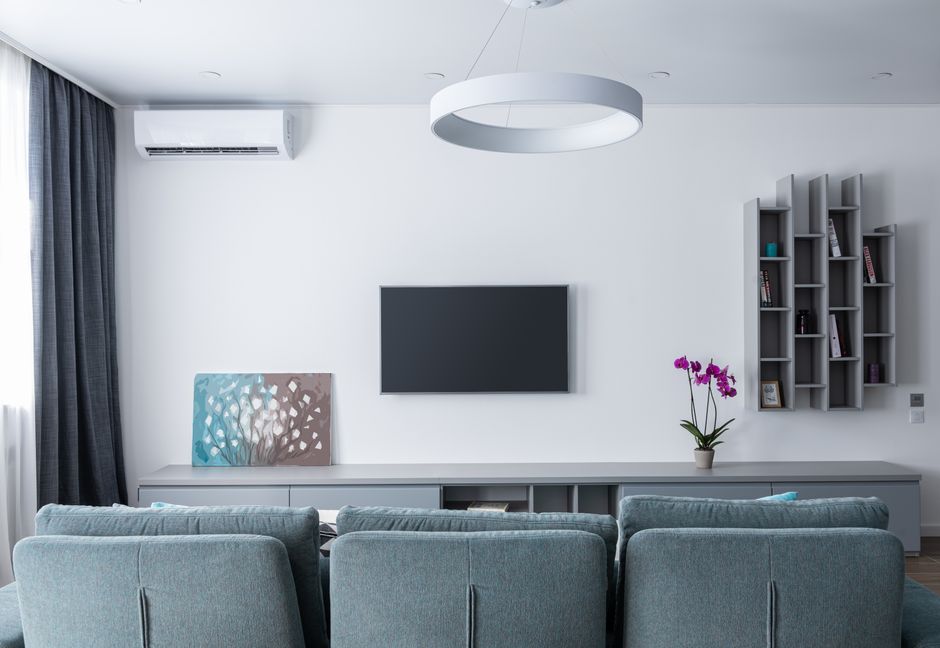
The living room is where mini split efficiency often shines brightest. It’s typically the largest open space and the room where you spend most of your awake time, whether it’s on weekends or evenings. You’ll want to carefully consider air handler placement because it doubles as a decor piece. Using cardboard cutouts taped to your wall is a budget-friendly way to test head placement without committing holes in plaster walls — a tip I always share.
For example, placing the air handler centered below a gallery wall is usually an aesthetic faux pas; instead, offsetting it works much better. From no vacuum pump mini split an installation perspective, the living room often boasts the shortest run from the condenser to the indoor unit, which reduces copper line set length, minimizing leak risk and cost. If you’re planning a patio or outdoor seating area nearby, peek at where the line set and outdoor unit will appear as the “line hide” around the siding or foundation—the less visible, the better.
Bedroom Zone: Prioritize Comfort and Quiet
Bedrooms are next in priority—comfort here is essential for good sleep. Separate zone controls allow customized setbacks for each bedroom, which can save energy costs and improve personal comfort. Many newer units from brands like MRCOOL offer whisper-quiet air handlers perfect for bedrooms.
Because bedrooms are smaller than living rooms but require higher attention to sound and sight lines, it’s a good idea to test the aesthetics with cardboard cutouts and furniture arrangement before mounting. Using the Zone Air Build Your Own tool, you can select indoor units that fit each room’s size and style.
Line set strategy becomes critical here: the longer runs needed mean you want the easiest coupling options. Quick connect fittings help prevent leaks, so don’t skimp on those if you’re attempting a partial DIY install. Make sure to account for ceiling height and trim work, particularly in older homes with plaster walls.
Guest Room Setback: Flexible Use and Energy Efficiency
Finally, consider the guest room. This zone may not need frequent conditioning; it functions best with setback thermostats and smaller indoor units or compact ceiling cassettes for a minimal visual footprint. This approach continues the theme of using HVAC components as design objects rather than intrusive mechanicals.
Planning this zone last lets you prioritize your budget and installation logistics while still giving guests comfort without running costs unnecessarily. Keep your line set sections neatly routed and out of sight, especially if they’re near outdoor patios or common areas—nobody wants to see looping copper coils or couplers cluttering the exterior.
Mixing Air Handler Types on One Condenser
One of the confusing but advantageous features of most 3-zone setups is the ability to mix and match indoor unit types on one condenser. For instance, a living room might get a stylish wall-mounted air handler, the bedroom might sport a quiet floor-standing unit, and the guest room a compact ceiling cassette. According to Zone Air and product lines from MRCOOL and Pioneer, this flexibility lets homeowners customize the look and fit of each zone without having to buy separate condensers.
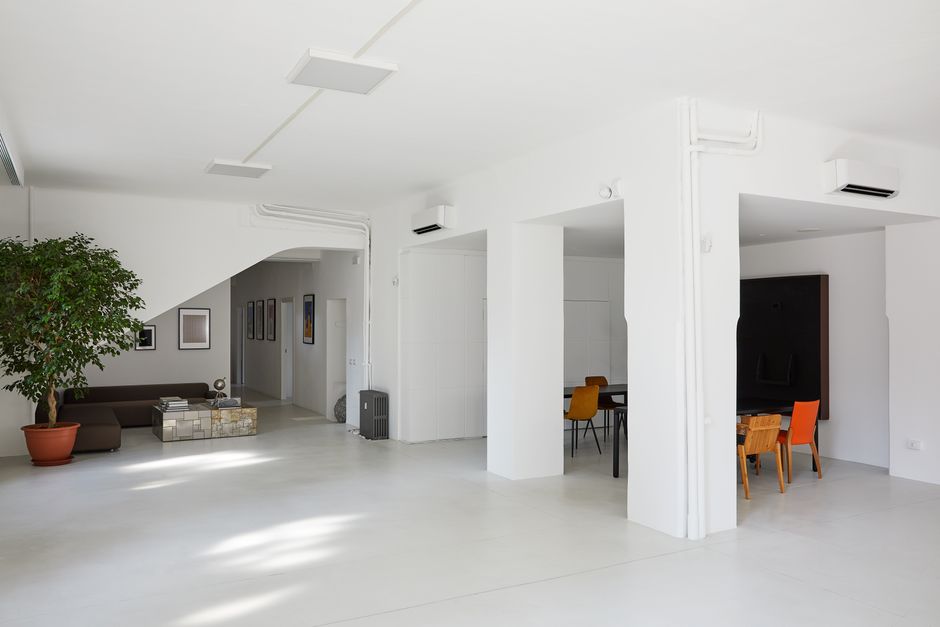
However, mixing units also requires careful line set planning. Each air handler type has different refrigerant flow requirements, so line set lengths and couplings must be matched perfectly—another reason why investing in high-quality quick connect fittings is non-negotiable. A short coil run between the condenser and handlers reduces chances for leaks and keeps the system running efficiently.
Line Set Strategy and Minimizing Leak Risk
Anyone who’s worked with mini splits knows the line set is the Achilles’ heel of a “DIY” project. Coil tubing, bending, and connection points are notorious leak sources if not executed flawlessly. Here’s what I always recommend when planning a 3 zone mini split line set:
- Measure twice, order once: Use tools like the Zone Air Build Your Own tool to get exact line lengths, reducing excess that needs to be coiled—which is a common mistake leading to leaks.
- Use quick connect fittings: These modern couplers eliminate the need for brazing, laborious flaring, and torch work—making them best-in-class for partial DIY installs.
- Plan your line hide thoroughly: Trace where the lines will run outside. If you have patios or decks, think about how visible your copper lines and couplings will be from those outdoor spaces.
- Don’t coil the line sets unnecessarily: Coiled line sets are cluttered, can cause kinks, and raise the leak potential. Instead, customize lengths to avoid coiling.
If you ignore these line set tips, your zones—no matter how perfectly laid out inside—could suffer from premature leak issues and costly professional repairs later.
Summary: Prioritize Living, Bedroom, Then Guest Room Zones
Putting this all together, here’s my recommendation for your first 3 zone mini split:
- 1st zone: Living room, where you’ll see the biggest comfort difference and enjoy the best line set proximity.
- 2nd zone: Bedroom zone(s) for personalized comfort, quiet operation, and aesthetic integration.
- 3rd zone: Guest room setback with smaller, quieter units to keep energy usage sensible.
Use the Zone Air Build Your Own tool to accurately spec your equipment and line sets with quick connect fittings. And remember, DIY means doing it safely—always consult with a licensed HVAC professional for electrical and refrigerant final connections, no matter how straightforward the install seems.
By balancing true DIY technology with thoughtful room prioritization and line set strategy, you’ll create a 3 zone mini split system that’s efficient, elegant, and truly comfortable.