Will a DIY Mini Split Heat My House Down to -13°F?
If you live in a cold climate and are considering a DIY mini split installation, you’re probably wondering: can a mini split heat my home effectively when temperatures drop to -13°F or below? With winter storms and Arctic blasts becoming more frequent, this question is top of mind for many homeowners exploring cold climate mini split options. In this post, we'll dive deep into the practical realities of DIY mini splits in frigid weather, focusing on brands like Zone Air, MRCOOL, and Pioneer that offer relevant solutions.

Understanding Mini Split Heating in Extreme Cold
Traditional mini splits are well known for their energy-efficient heating and cooling, but their performance in brutally cold weather varies by model and installation type. When temps fall below 0°F, many older mini splits lose efficiency or struggle to maintain warm indoor temperatures.
Ever notice how that’s where cold climate mini splits come into play — designed specifically to maintain heating capacity down to temperatures of -13°f and even further in some cases. Brands like Zone Air specialize in these units optimized for extreme weather.
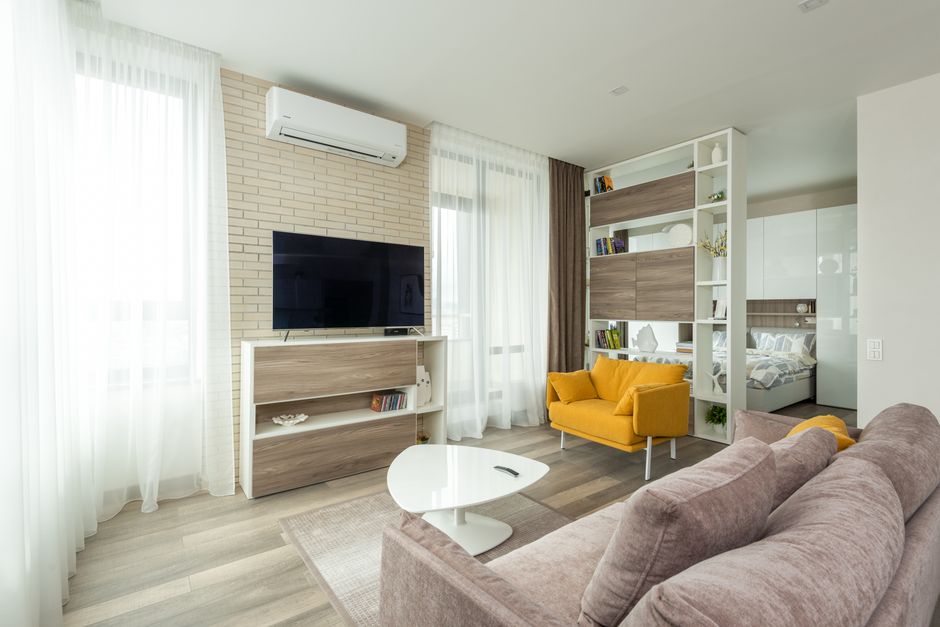
What Does -13°F Heating Capacity Really Mean?
Units rated to operate down to -13°F indicate that the heat pump can efficiently extract heat from the outside air even when it’s that cold. This is not just a marketing number; it reflects advanced compressor technology, improved refrigerants, and better defrost cycles. However, practical performance depends heavily on correct sizing and installation.
DIY Mini Splits: True DIY vs Professional Install-Only Models
Before you dive into a DIY mini split install to conquer the cold, it’s crucial to understand the difference between what manufacturers consider a “true DIY” unit and those requiring professional installation. This distinction has big implications for your workflow, tools needed, and even electrical setup.
True DIY Mini Splits
Brands like MRCOOL have carved out a niche with pre-charged line sets and quick connect fittings that radically simplify installation for homeowners with minimal HVAC experience. These mini splits come with refrigerant already in the lines, eliminating the need for vacuum pumps or refrigerant charging equipment. You literally connect the indoor and outdoor units with quick connects, plug in the power, mount the units, and you’re mostly done.
MRCOOL’s 115V plug-in mini splits offer a convenient balance for homes without dedicated 230V wiring. They plug into standard household outlets — a huge convenience for many DIYers.
Pro-Install-Only Mini Splits
On the other hand, many cold climate mini splits from companies like Zone Air and Pioneer come standard as 230V hardwired systems. Installing these models can require a licensed electrician to set up a dedicated breaker, conduit, and run new wiring. Additionally, the refrigerant lines often come uncharged or require brazing and vacuum pumping, eliminating them from the casual DIY list.
While these pro systems may offer robust heating performance at -13°F, they require a longer and more complex installation process and specialized tools.
115V Plug-In Convenience vs 230V Hard-Wiring Reality
Feature 115V Plug-In Mini Splits 230V Hard-Wired Mini Splits Power Source Standard household outlet Dedicated breaker and hard wiring needed Installation Skill Level Intermediate DIY with quick connect tools Professional electrician & HVAC technician recommended Heating Capacity Typically less powerful, but sufficient for small- to medium-sized rooms Higher power units suited for whole-house heating or larger zones Installation Time 4–8 hours for experienced DIYers More than a day, including electrical prep and refrigerant handling Tools Required Pre-charged line sets, quick connect fittings, basic hand tools Torque wrenches, vacuum pumps, nitrogen, brazing torches, electrical toolsThe convenience of 115V MRCOOL models is unmatched for many who want a plug-and-play experience. However, if your heating needs are larger or your climate brutally cold, stepping up to a 230V hardwired system from Zone Air or Pioneer might be necessary. ...where was I going with this?
Pre-Charged Line Sets and Quick Connect Fittings: Transforming DIY
The real breakthrough in DIY mini splits is the availability of pre-charged line sets combined with quick connect fittings. Traditionally, refrigerant lines require professional brazing, evacuating, and charging—processes that mandate expensive tools and HVAC certification.
Companies like MRCOOL have engineered pre-charged line sets that arrive with refrigerant sealed inside. Homeowners use quick connect fittings on these lines to snap the indoor and outdoor components together without a single refrigerant leak or complicated step. This innovation slashes installation time and removes barriers for the dedicated DIYer.
What to Expect on Install Day: Workflow and Time
Knowing the approximate time involved and how your day will flow is vital to making the DIY mini split install manageable and successful.
- Planning & Preparation Review all parts and tools, measure wall and electrical locations. For cold climate mini splits, ensure your unit’s specs match your region’s temperature needs.
- Mounting the Indoor Unit Attach mounts and secure the indoor head. Prepare the hole for line set passage to the outdoor unit.
- Mounting the Outdoor Unit
Secure placement on a stable platform (concrete pad or brackets). For 115V plug-and-play, plug into existing outlet. For 230V units, arrange professional wiring beforehand. - Connecting Line Sets with Quick Connects For pre-charged units, connect indoor and outdoor lines with quick connects. Verify all fittings are hand-tight and clear of obstructions.
- Testing & Commissioning Power on the system, test heating and cooling cycles, confirm wireless remote control functions, and monitor for any error codes.
For a competent DIYer working with a true plug-and-play MRCOOL kit, expect about 4–8 hours for a single-zone install. For hardwired Zone Air or Pioneer cold climate mini splits, plan on professional help for wiring and refrigerant evacuation, likely extending install to 1-2 days.
Will a DIY Mini Split Heat Your Home Down to -13°F? Yes, With Some Caveats
The short answer: yes, a DIY mini split can heat your home effectively down to -13°F—if you choose the right system and prepare adequately.
Key factors to success include:
- Choosing cold climate mini split models designed for extreme temperatures, such as certain Zone Air and Pioneer units.
- Selecting a true DIY model with pre-charged line sets and quick connect fittings if you want to tackle the install solo, such as MRCOOL’s 115V plug-and-play systems.
- Ensuring your home’s electrical infrastructure supports your chosen system (plug-in vs hardwired) and scheduling electrician help if needed.
- Understanding the install workflow thoroughly before starting—this will reduce surprises on install day and keep the project progressing smoothly.
Final Thoughts: Balancing Convenience, Cost, and Cold Weather Performance
The growing availability of DIY-friendly mini splits with innovations like pre-charged lines and quick connect fittings has lowered barriers significantly. For moderate heating zones and mild winters, MRCOOL’s 115V plug-in mini splits offer a convenient and affordable solution that most homeowners can install themselves in a omnihomeideas.com day.
However, for harsh winter zones hitting -13°F and below, investing in cold climate models from Zone Air or Pioneer offers peace of mind in heating capacity and reliability—though professional installation is typically necessary. Always factor in safety, local codes, and electrical requirements.
Ultimately, your perfect DIY mini split setup balances your heating needs, DIY confidence, and willingness to tackle electrical or refrigerant tasks. When done right, a mini split system can be your trusted heat source long after snowflakes start falling.
If you’re ready to explore the best cold climate mini split options or want detailed installation guides for DIYers, stay tuned for upcoming posts covering EA installation tips and product comparisons.